Old Router, New Job: Wiring a Spare Unit as an Access Point Without Duplicating Your Network

Photo: two wireless routers connected with ethernet cable on home office shelf, via cinnamonshtick.com
The scenario is familiar. A new router goes into service, the old one goes into a closet, and six months later a dead zone appears at the far end of the house. The obvious move is to plug the spare back in near the dead zone and let it help.
Done the intuitive way — cable from a LAN port on the main router into the WAN port on the spare — the result is two networks pretending to be one. Devices on the far side get addresses from the wrong pool, file sharing between wings stops working, port forwards point at the wrong place, and the owner ends up with two admin panels at addresses that look identical. The fix is not complicated, but it requires doing the steps in order.
What Actually Changes in Access Point Mode
A router performs three jobs: it moves traffic between networks (routing), it hands out addresses (DHCP), and it provides wireless access (the access point). An access point does only the third job and leaves the first two to the main router.
So the conversion is mostly subtraction:
- Disable the DHCP server on the spare unit.
- Stop routing — do not use its WAN port for the uplink.
- Hand it a management address that sits outside the main router's DHCP pool.
- Leave firewall, NAT, and UPnP behind, since the main router still handles them.
Before You Touch Anything: Write Down Four Numbers
The usual mistakes are address mistakes, and they are avoidable with a five-minute inventory:
- The main router's LAN address — for example 192.168.1.1.
- The main router's DHCP pool — for example 192.168.1.100 through 192.168.1.199.
- The spare router's factory LAN address — often 192.168.1.1 or 192.168.0.1, which is frequently the same as the main router and therefore unusable.
- A free address outside the pool for the access point — 192.168.1.2 or 192.168.1.250, depending on the pool boundaries.
Note that the access point's management address must be unique on the network. Two devices answering to 192.168.1.1 is the single most common cause of a browser landing on the wrong admin panel.
The Correct Sequence, Step by Step
Work on the spare router with nothing but a laptop connected to it directly. Do not connect it to the main network until the settings are finished.
1. Factory reset the spare. Hold the recessed reset button for the interval the manual specifies. Starting from defaults avoids inheriting someone else's half-finished configuration.
2. Set the LAN address. In the admin panel — reached at the spare's default gateway, or the branded shortcut for your model, such as routerlogin.net on Netgear hardware — look under LAN Setup or Advanced > LAN Setup. Change the LAN IP to the address you reserved outside the DHCP pool. Save, and expect the router to reboot and become reachable only at the new address.
3. Disable DHCP. In the same LAN section, turn off the DHCP server. This is the step that prevents a second address authority from appearing on the network. If the panel warns you, continue.
4. Configure the wireless. Set the SSID and security mode. Whether to reuse the main network's name is a genuine choice: the same name and passphrase give the smoothest roaming for phones and laptops, while a distinct name such as HomeNet-Garage makes it obvious which unit a device has joined, which is invaluable during diagnosis. Either way, use WPA2-AES or WPA3, never a mixed mode with TKIP.
5. Turn off features that no longer apply. Disable WPS, disable UPnP, disable remote management, and leave the firewall on if the panel permits it while routing is off. Some models also offer an explicit Access Point mode toggle that performs steps 2 through 4 automatically — use it if it exists.
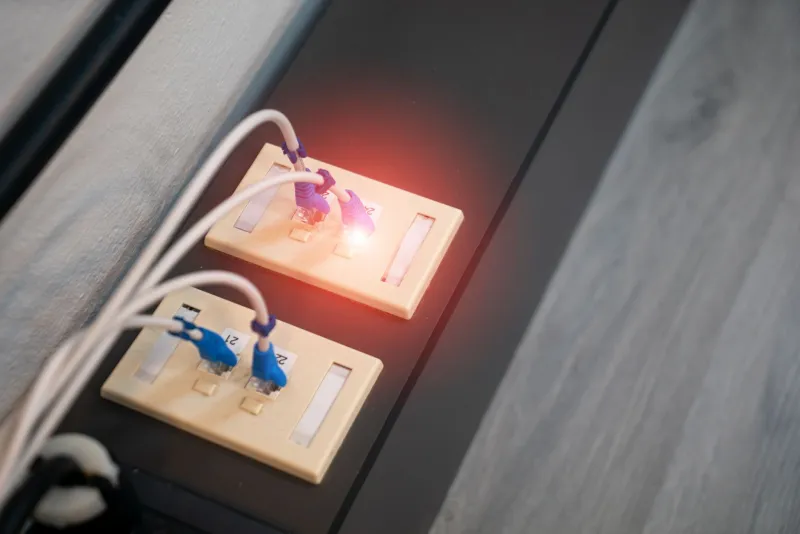
6. Cable it LAN to LAN. Connect an Ethernet port on the main router to an Ethernet port on the spare. Leave the spare's WAN or Internet port empty. This is the physical detail that eliminates double NAT.
7. Verify. Connect a laptop by wire to the spare and confirm it receives an address from the main router's pool. Open the access point's management address and confirm the login page belongs to the spare, not the main unit.
Recognizing Double NAT Before It Embarrasses You
If the uplink was made into the WAN port, the spare is still routing. Signs include devices on the far side showing a gateway address equal to the spare's LAN address, online gaming sessions reporting strict or moderate NAT types, and services that rely on UPnP failing only in that part of the house. The remedy is not a settings tweak; it is moving the cable to a LAN port and disabling the DHCP server.
Keeping Admin Access Predictable
Two habits spare a great deal of confusion later. First, label the hardware — a strip of tape on the underside reading the management address and the wireless name. Second, record the address in the same place you keep router credentials. When someone needs to reboot the access point remotely, an address written down is worth more than a memory of where it was plugged in.
A wired backhaul from the main router remains the strongest arrangement. If pulling cable is impossible, most units that support access point mode also support a wireless bridge or repeater mode — but expect roughly half the throughput at the far end, and a cleaner loss than a misconfigured second network.
Knowing When to Retire the Spare Instead
An old router earns its second life only if it can carry modern security. Units limited to WPA2 with TKIP, or without a firmware release in several years, weaken the network they are added to. Check whether the manufacturer still publishes firmware for the model. If not, a dedicated access point — or a mesh node — is the better investment, and the spare belongs in electronics recycling rather than on your wall.