Port forwarding is an essential networking method that enables particular data to pass through a router and arrive at its intended destination. Because of their dependable performance and intuitive user interfaces, Netgear routers enable customers to port forward easily. We will go into the distinctions of port forwarding on Netgear routers in this guide, giving you the best possible overview for tailoring your network to suit your needs.
Comprehending Port Forwarding:
- Redirecting traffic from a certain port on your router to a specified device on your local network is known as port forwarding.
- For hosting servers, remote desktop connections, and online gaming, this is especially helpful.
- Routers function as barriers by default, preventing incoming requests for security-related reasons.
- By opening up particular ports, port forwarding enables data to pass through and arrive at the intended location.
How to Get on Your Netgear Router:
- You must first enter the web interface of your Netgear router before attempting port forwarding.
- Usually, the address is http://192.168.1.1, although the precise IP can be found in the instructions for your router.
Signing in:
- You must log in after visiting the router’s web interface.
- Put in the password and username for the router.
- In most cases, “admin” is the default in both fields if you haven’t altered these credentials.
- For security purposes, don’t forget to update your login information.
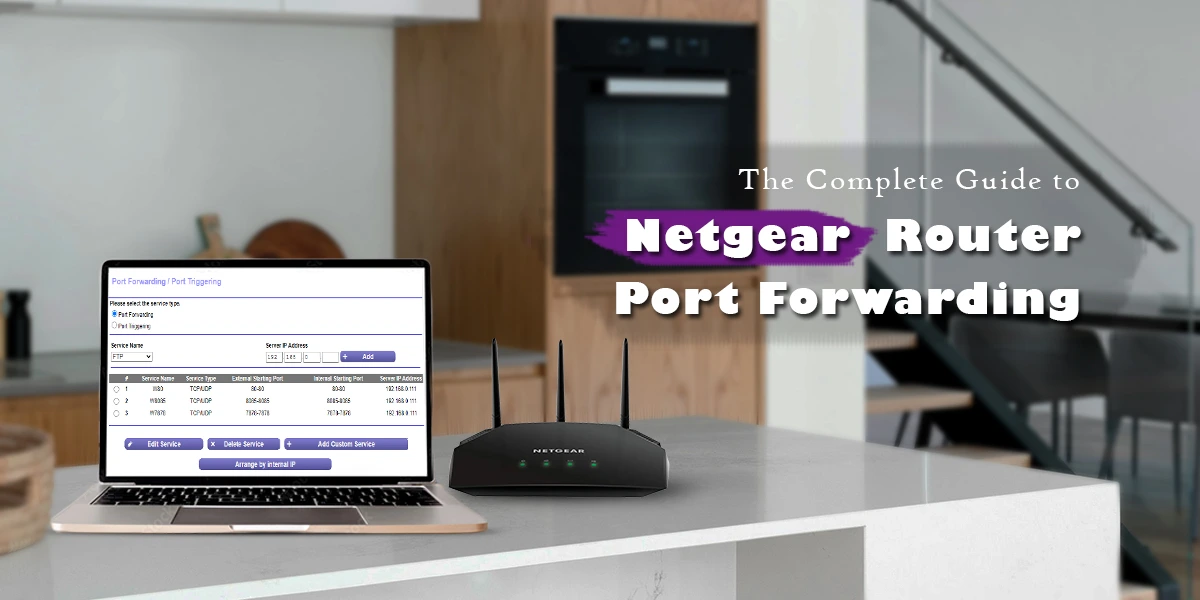
Where to Find the Section on Port Forwarding:
- The web interface of Netgear routers typically includes a section specifically for port forwarding.
- This could be referred to as “Advanced Setup” or “Port Forwarding.”
- To start configuring your port forwarding settings, navigate to this area.
Making a Rule for Port Forwarding:
- You can begin writing a port forwarding rule now that you’ve found the port forwarding area.
- Enter the necessary data and select the service or application for which you wish to enable port forwarding.
- The device you wish to forward the ports to’s protocol, port range, and local IP address are all included in this.
Checking the Configuration of Your Port Forwarding:
- It’s critical to verify that the configuration is operating as expected after setting the port forwarding rules.
- You can use online resources and tools to determine whether your ports are open and reachable from the internet.
- This step guarantees that the specified device on your network can be reached by external connections and that your configuration is correct.
Troubleshooting Advice:
- If your port forwarding isn’t functioning, you can investigate a number of typical problems.
- Make sure the IP address of the local device is typed correctly, proofread your port forwarding rules for errors.
- Confirm that the ports you are trying to forward are not being blocked by your ISP.
- Updating the firmware on your router to the most recent version will also fix any compatibility problems.
Final thoughts
When it comes to Netgear routers, port forwarding is a useful feature for those looking to tailor their network for particular services and apps. In order to guarantee a stable and secure network environment, don’t forget to test your settings and resolve any problems. You’ll be well-equipped to take advantage of your Netgear router’s full potential with the help of this comprehensive tutorial.

